


This morning I had an awesome lesson with my year 9's so I thought I would share it over here on I heart teaching art! We've just started an altered book project and to ease them in to manipulating paper I wanted to start 2D to build up their confidence. Both me and Kirsty have done a lesson on paper cutting recently but her's was aimed at year 12 - it's a great lesson that can be aimed at a range of levels you just need to play around with the level of skill and subject matter. We focused on buildings for our cuttings.
Starter: We watched a quick 4 minute clip of Rob Ryan talking about his work (you just can't do paper cutting without referring to him can you?! and the students loved it). I gave the students a very brief worksheet to fill in as we watched the video and afterwards discussed their opinions of the art work and how it had been created.
video clip: This is the clip that I selected, but there are a ton of different videos so you can easily adapt this to select a clip more relevant to your class!

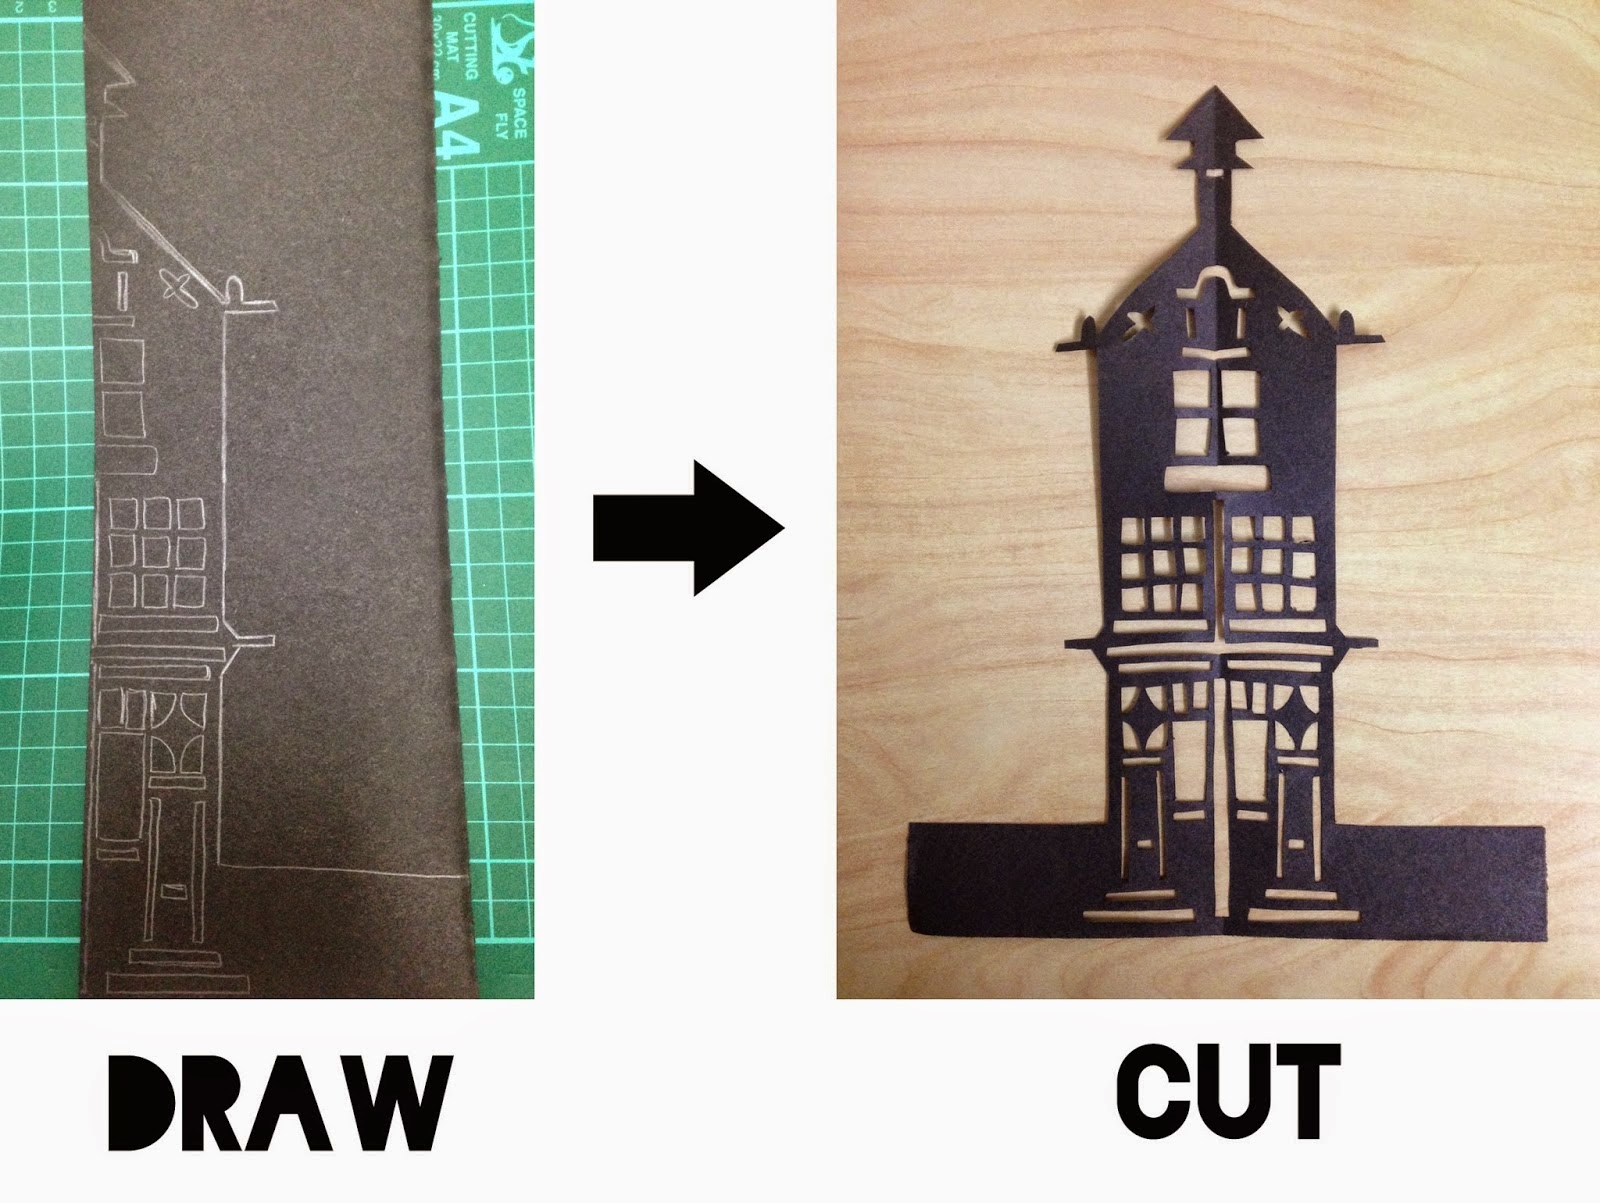
Demonstration: I then demonstrated to the group how to create a symmetrical paper cut by folding the paper in half and drawing one half of the image. I found it was good at this stage to go over 'anchoring' the cut out areas and colouring in the sections that you wanted to cut out to make sure that it worked.
Main: Students will design and cut their own design based on buildings. I also provided my class with a range of examples (see below) so that they could get inspiration and if needed, copy sections of existing designs - for me this lesson was about learning the technique more than creating the design, that will come later! Once the students have got started it's best to go round and check designs, give guidance on how to cut and if there are any mistakes a few quick 'cheats' with some tape to fix it can always help!
Extension: For my higher ability learners, once they completed a paper cut (in super speedy time!) we discussed ways to make their existing design more complex OR began a second cutting this time working with a flat design rather than symmetrical and for the very advance students introduced typography (must be done back to front!) and shapes surrounding the design.


Plenary: If you have access to an old OHP then you can celebrate (woo-hoo!) cause it now has a super cool function! We gather around the OHP to exhibit our final paper cuts and as each student showcased theirs we ooo'd and aahh'd (as its bonfire night) and they discussed either a pro or con of paper cutting!

If you do have a go at this lesson as always we'd love to see the results!
- Claire ❤ (& Kirsty as I pinched some of her resources for my lesson and this post!)
No comments:
Post a Comment